Getting data from a Davis Weather Station into Home Assistant
I have a Davis Vantage Pro 2 weather station that I’ve been using for a few years. It’s a great little station that exposes a large number of sensors and has worked reliably. Getting data from this station to a computer and onto the internet isn’t particularly difficult; Davis makes first‑party tools, and there are great third‑party tools that handle it as well. However, getting data into Home Assistant is a bit trickier.
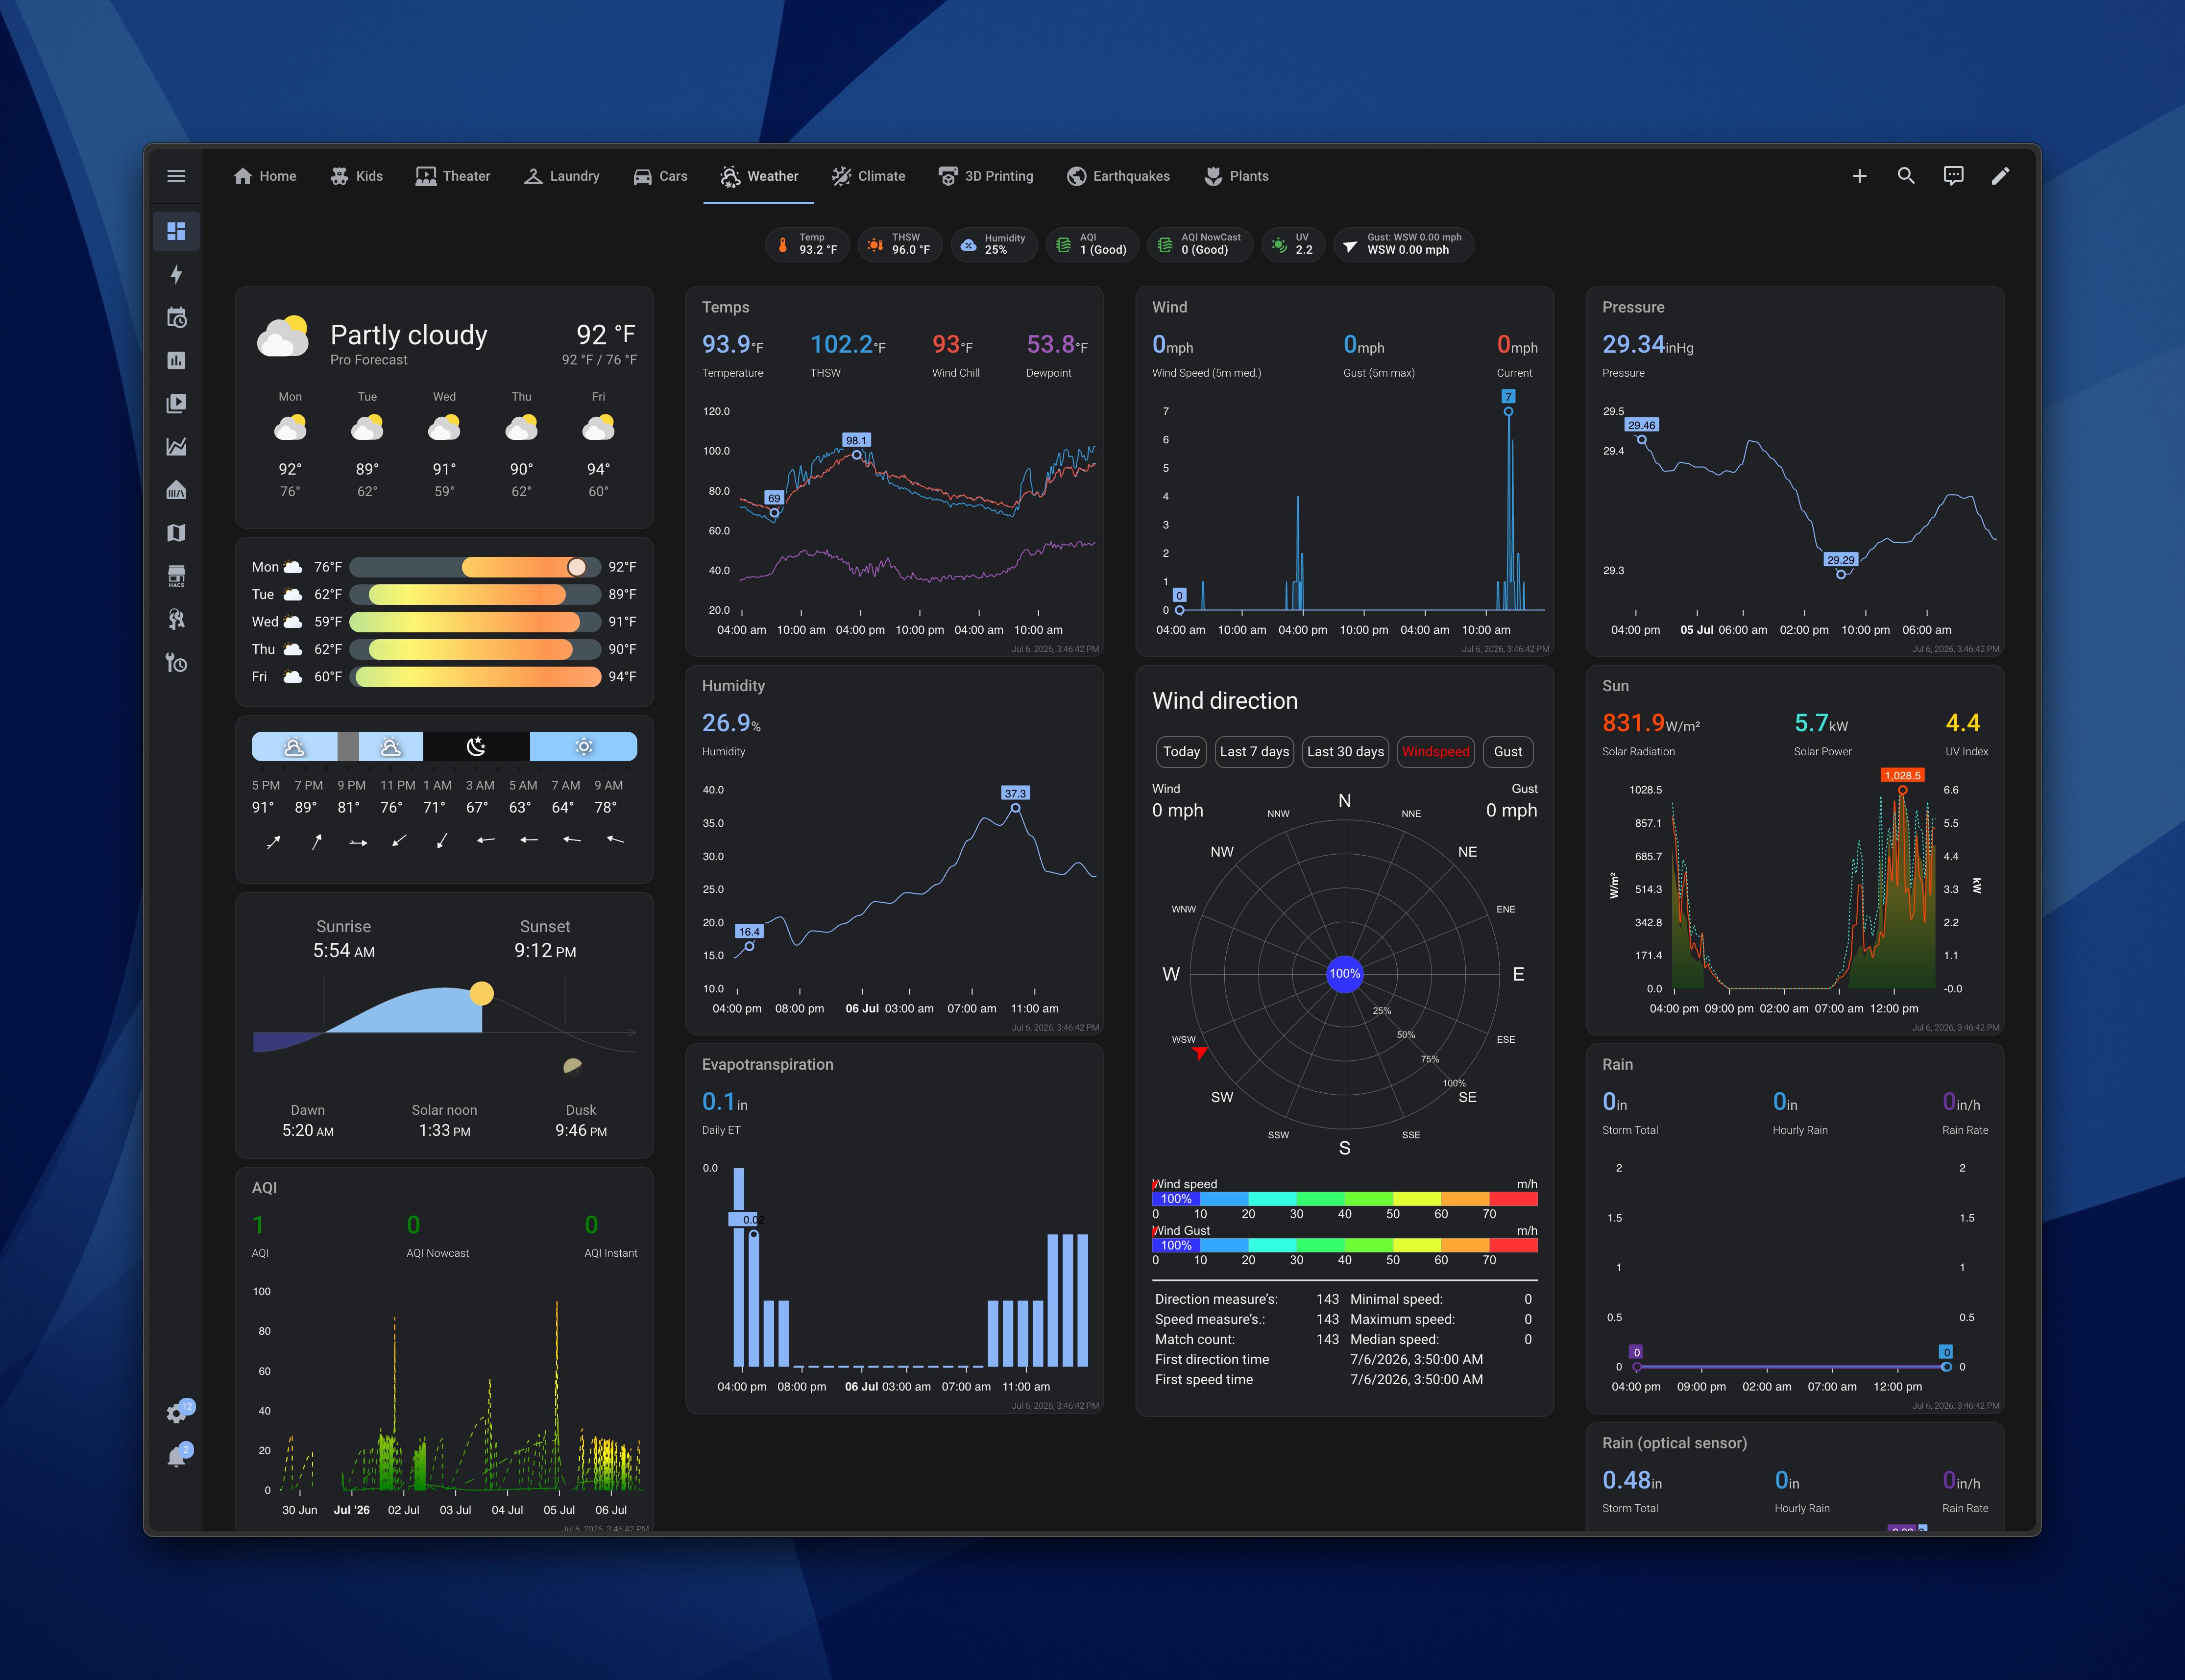
First, you need to get the data from the station. Assuming you’re using a wireless station, you have a few options. The stations broadcast on 902 - 928 MHz in the US (868.0 - 868.6 MHz EU). The simplest approach, and one I went with, is to buy a Davis Weather Envoy, and connect it to your computer. Their prices have gone up quite a bit over the years, so they aren’t the best value anymore, but they are simple, and they just work. The other alternative is you use an SDR of some kind, and run it with rtldavis. I haven’t tried this, but I have heard that it works well from various sources on the web. Regardless of which approach you choose, once you have the data, you need to process it. For my weather station, I’ve been using a piece of software called WeeWX. It’s a great little tool that logs and ingests data from a massive variety of weather stations, Davis included. It stores, runs statistical analysis, and even makes nice little web dashboards of the data. If you choose to go with rtldavis, you might want to use a tool called weewx-rtldavis. Again, I have not tried this, so I can’t vouch for it, but it looks promising. One thing to note: if you are using the official Vantage integration with an Envoy or console connector, set your For getting data out of WeeWX and into Home Assistant, I use MQTT. MQTT is useful in many other contexts with regard to Home Assistant, and setting up an MQTT server is beyond the scope of this guide (although it’s typically as easy as just installing the Mosquitto add‑on for Home Assistant, and calling it a day). WeeWX has a couple of MQTT extensions. There’s the older mqtt extension, which I used, and the newer MQTTPublish extension. I will write this guide from the perspective of the older extension, but you may wish to try the newer one instead; it has a plugin of its own that enables MQTT‑based discovery. Adding the extension and getting it publishing isn’t terribly difficult; generally, you just run a few commands, restart your WeeWX server, and you’ll see messages start flowing through MQTT. The install instructions are documented in the README of each project. Once you have data in MQTT, you need to put it in Home Assistant. This is where the Auto Discovery feature would be useful, but since I didn’t do it, I had to make a custom MQTT sensor configuration instead. Assuming you have the MQTT integration set up in Home Assistant, all you really have to do is stick this package YAML in your Home Assistant Once you have it running, and you’ve restarted Home Assistant so it sees it, you should have a large number of sensors under the MQTT integration. They update about once every 2 seconds, and generally won’t pollute your sensors with duplicate data. You can now, quite easily, build comprehensive dashboards, automations, and so forth.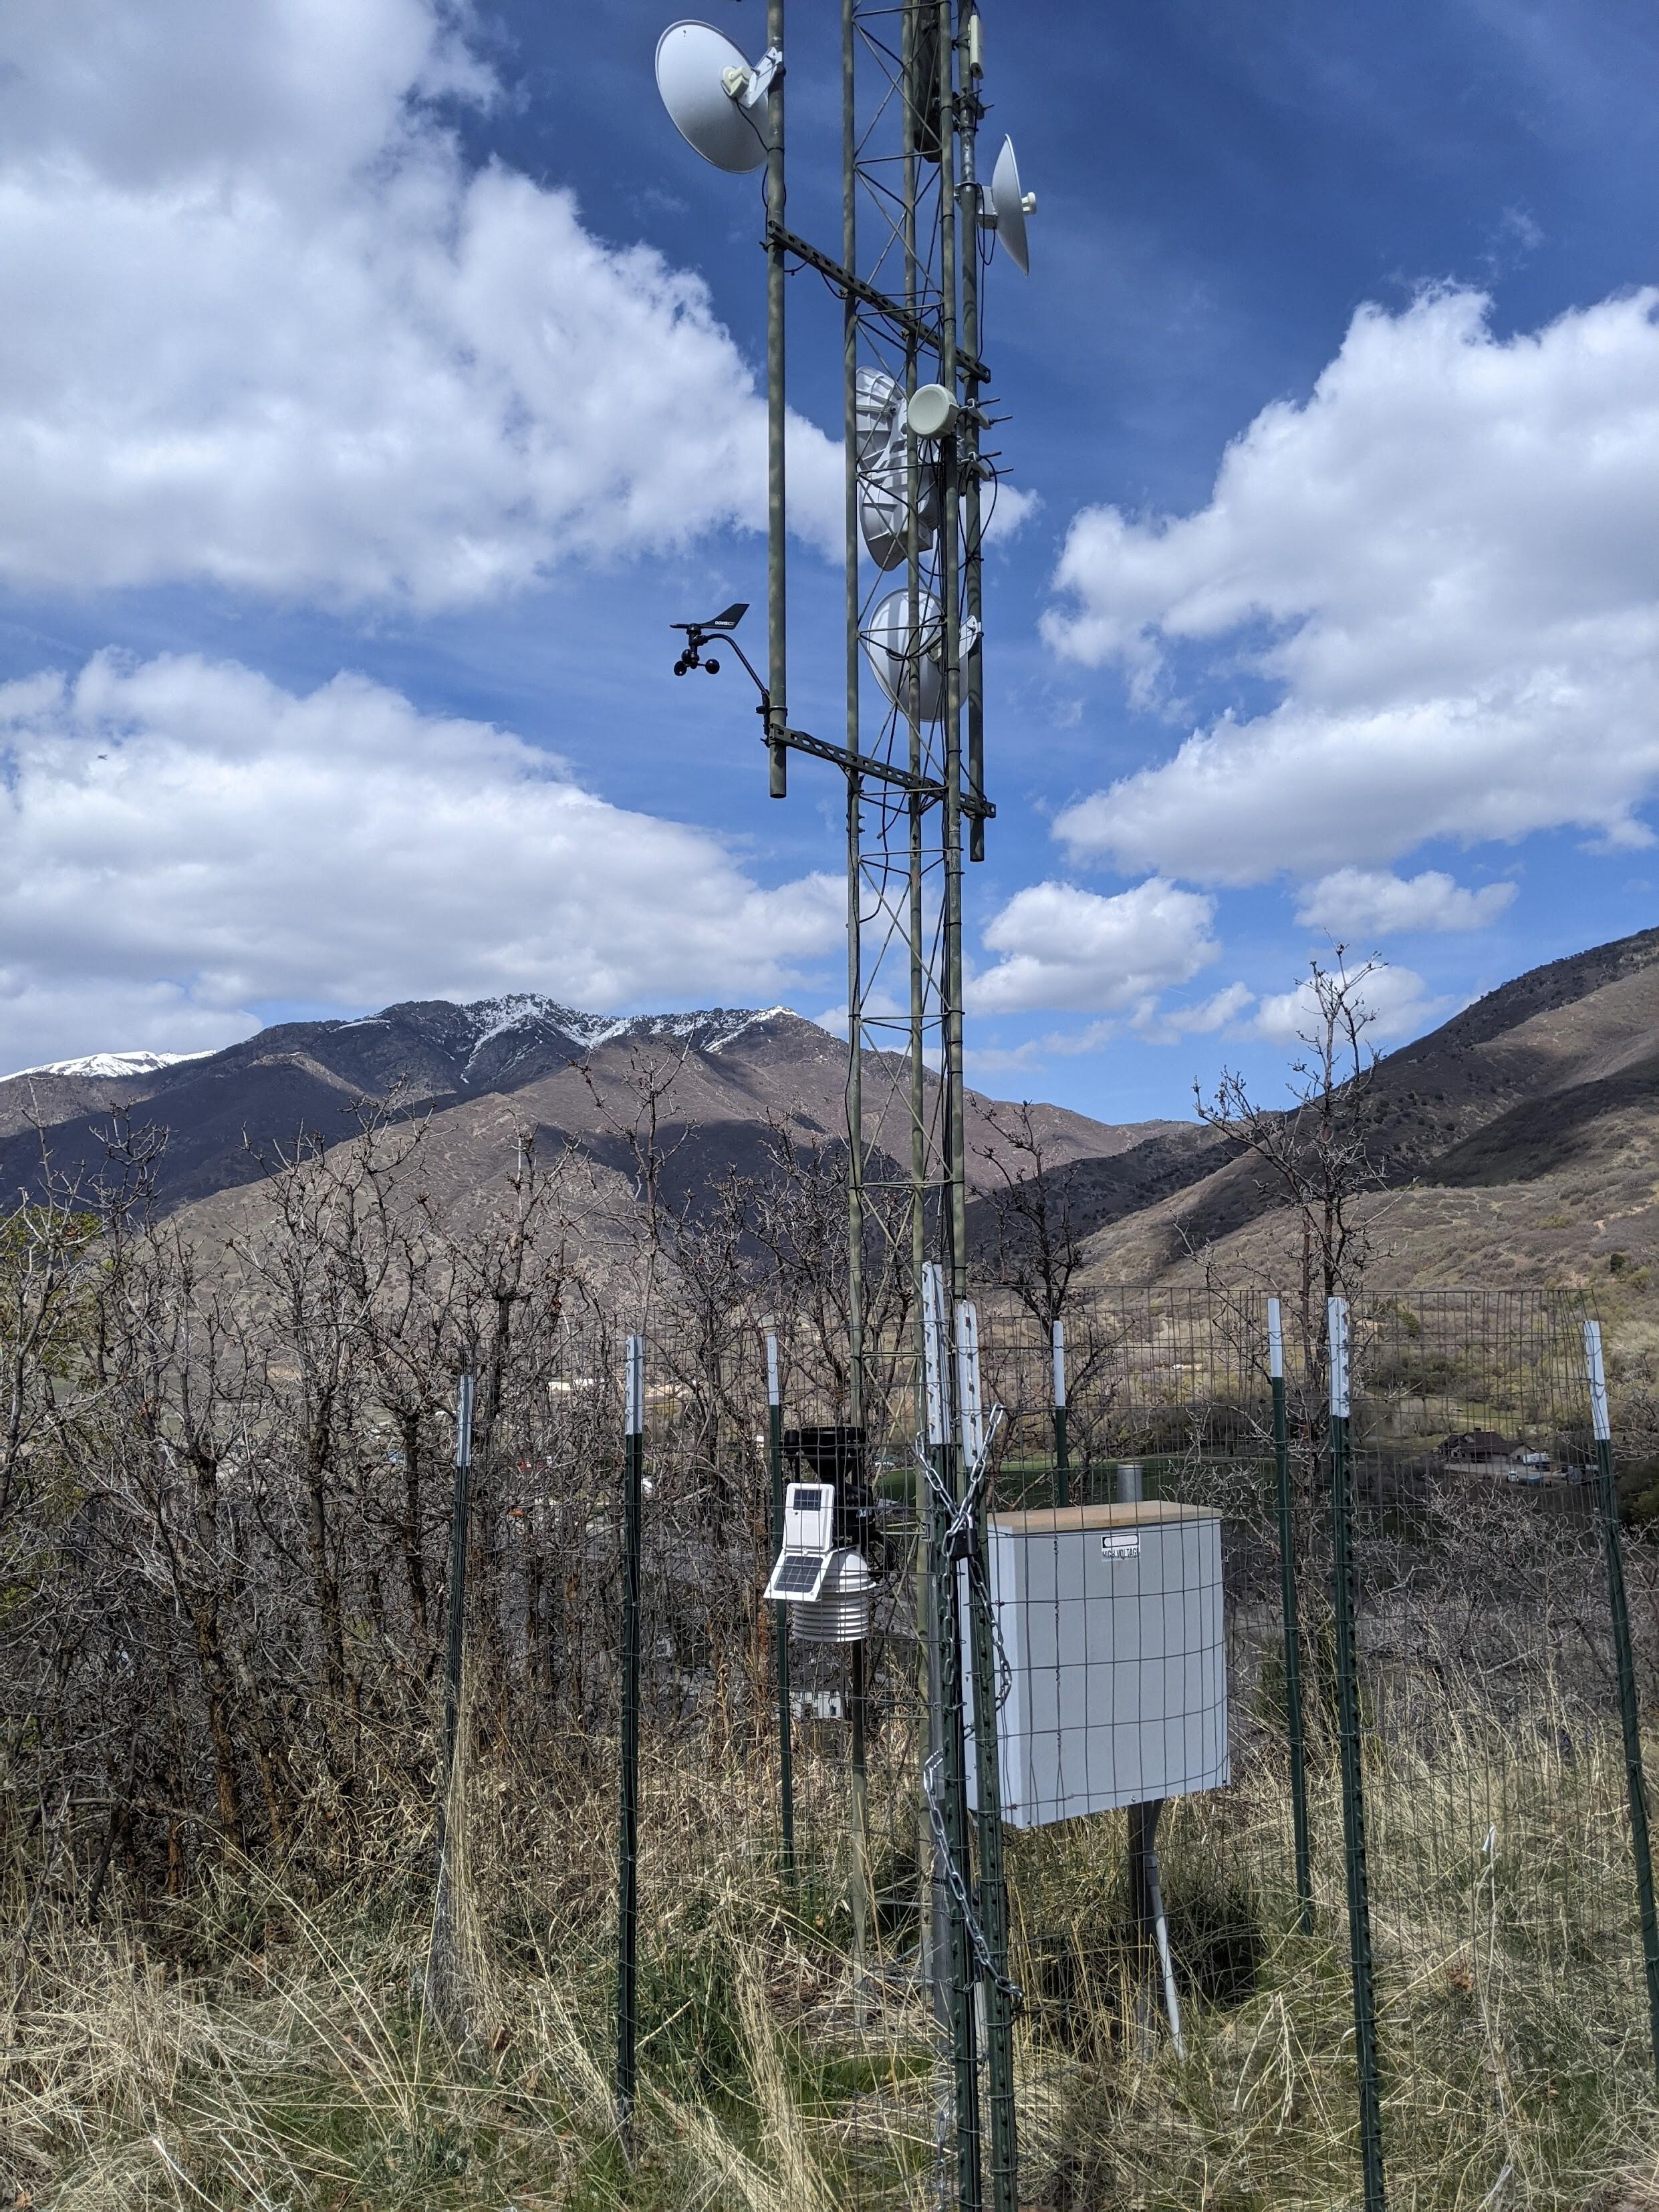
Receiving raw data
Processing the data
loop_request to 3. This alternates between both loop‑request types and gives you more accurate information, as well as access to “virtual sensors” that the Davis devices maintain internally.Taking data from WeeWX and putting it into Home Assistant
packages/ directory, and restart Home Assistant. You may want to tweak it for your specific setup—disabling sensors, changing units, and changing labels—but that’s a fairly comprehensive configuration that should work for most people. There are some sensors it doesn’t map; adding them isn’t tremendously hard either, just look at the existing structure.